
How to Clean a Washing Machine Detergent Drawer: 7 Easy Steps
How to clean a washing machine detergent drawer starts with identifying the dispenser you actually have. A removable manual drawer can usually be rinsed and gently brushed, while an automatic dosing reservoir may need a different procedure. Check the model instructions before pulling anything out.
A sticky compartment does not automatically mean the washer needs replacing. This guide helps you separate removable residue from a damaged part, clean the accessible pieces, and check whether the next cycle dispenses normally. It covers the drawer, not internal pipes or electrical repairs.
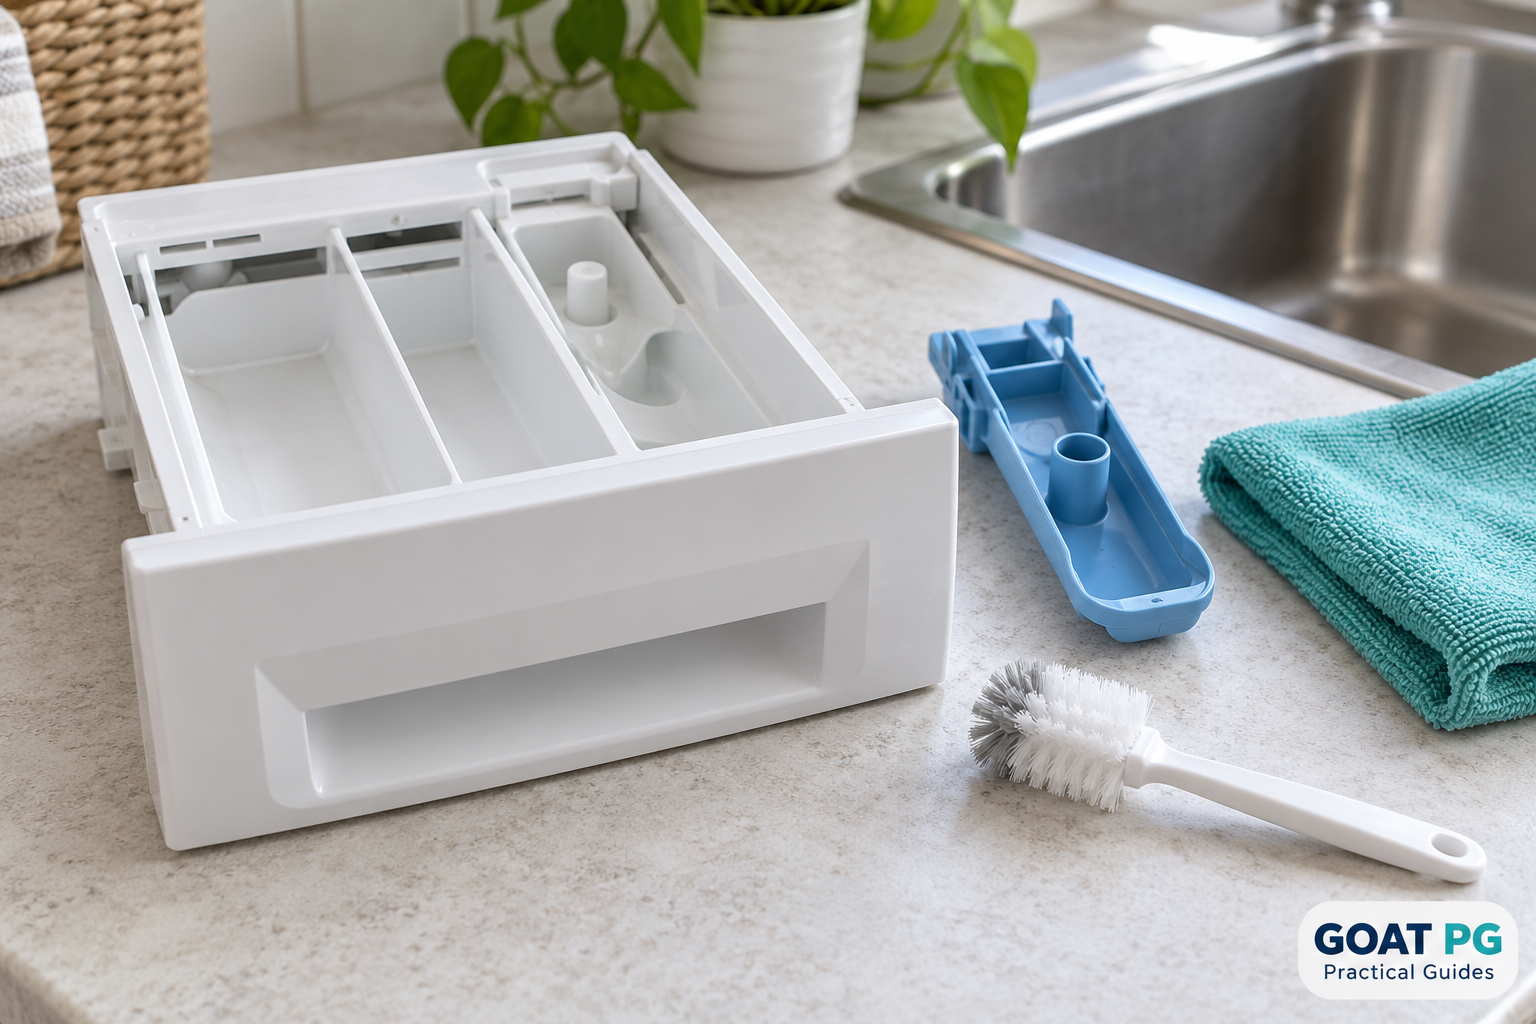
Check the drawer before you clean
Pull the drawer out only as far as it normally travels. Look for a release tab, a removable softener insert, and compartment markings. Photograph the assembled layout so you can put it back correctly. A photograph of your own drawer is more useful here than assuming that every machine matches an online illustration.
| What you have | Appropriate starting point | What to avoid |
|---|---|---|
| Manual removable drawer | Use the model’s release procedure and clean permitted removable parts. | Pulling past a stop with force. |
| Automatic dosing reservoir | Find the reservoir cleaning and emptying instructions. | Submerging components or adding a cleaner without approval. |
| Fixed dispenser | Wipe only areas designated for routine maintenance. | Removing the appliance casing to reach it. |
| Cracked or distorted drawer | Identify the correct replacement part. | Treating a crack as a blockage or patching a dispensing channel. |
Set out a soft cloth, a small non-metal brush, a basin and warm water. Keep a towel beneath the work area for drips. For routine residue, start with water instead of inventing a chemical mixture. LG’s dispenser maintenance guidance specifically advises against soap when washing its drawer and inserts. Your own manual takes priority if its instructions differ.
How to clean a washing machine detergent drawer: 7 steps
1. Finish the cycle and make the work area safe
Do not remove the drawer while water is being dispensed. Wait until the cycle has ended, turn off the machine, and follow its power-disconnection instructions before maintenance. Keep your hands and the floor dry. If there is water around the plug or socket, stop; reaching through water to unplug an appliance is not a cleaning step.
2. Release the drawer without forcing it
Use the release shown in the manual. Support the drawer as it comes free and carry it level to the basin, since water may remain inside. If it catches, check whether an insert has lifted or whether you are pressing the correct release. A screwdriver used as a lever can turn a cleaning job into a broken drawer.
3. Remove only the inserts designed to come out
Separate the permitted softener cap or detergent insert and place the pieces in order on your towel. Leave clips and sealed assemblies alone. Check the underside of each removable part: a compartment can look clean from above while its hidden channel remains coated.
4. Rinse and gently loosen the residue
Rinse the removable pieces with warm water and work a soft brush around accessible corners. Give softened deposits another gentle pass instead of scraping them with metal. Rinse the brush as it collects residue. Avoid boiling water, abrasive pads and unapproved dishwasher cycles, which are unnecessary risks for fitted plastic parts.
Do not mix bleach, vinegar, descaler or other cleaners. A drawer that remains stained after its loose residue is gone does not justify progressively stronger mixtures. If contamination persists in inaccessible areas, ask the manufacturer for the model-specific next step.
5. Wipe the accessible drawer housing
With the machine safely disconnected, inspect the opening with a light. Use a damp cloth or an approved small brush on reachable surfaces. Keep water out of controls and do not pour a basin into the empty housing. Do not push wire into openings or enlarge holes in an attempt to improve water flow.
6. Dry, inspect and reassemble
Dry the parts, compare their positions with your photo, and fit each insert securely. Check for chips, cracks or a cap that no longer seats properly. Slide the drawer back along its guides; it should not need a hard shove. If it sits crooked, remove it using the correct release and check the alignment again.
7. Check the next approved cycle
Follow the manual for any rinse required after maintenance. Keep the drawer closed while the machine operates and look for leaks from outside. On the next normal wash, use the specified product and dose. After the cycle, inspect the compartments rather than assuming that a clean-looking drawer has solved every dispensing problem.
What if water or detergent is still left behind?
A small amount of clean residual water is different from a compartment still full of undiluted softener. LG explains this distinction in its water-left-in-dispenser guidance. Compare the result across a normal cycle and check the fill markings before deciding that the appliance has failed.
| Observation after cleaning | Next check |
|---|---|
| A little clear water remains | Check the model guidance before treating it as a fault. |
| Softener remains almost unchanged | Check the insert seating, product instructions and maximum fill line. |
| Powder forms a lump | Confirm the compartment and insert configuration are correct for powder. |
| The drawer leaks during filling | Stop the cycle safely and check assembly and visible damage; seek service if it repeats. |
| The drawer is clean but laundry still smells | Investigate the rest of the washer and the laundry routine. |
Write down when the problem happens: during initial filling, during the rinse, or after the cycle. Note the cycle name and whether you used powder, liquid detergent or softener. These details give a technician a clearer starting point than “the drawer is faulty.” Do not dismantle valves or internal hoses to investigate further.
A practical routine that limits buildup
Inspect the drawer regularly and clean it when deposits begin to appear. LG recommends monthly dispenser maintenance for the models covered by its cited guide; use your manual’s interval for your machine. Adjust inspection frequency to what you see rather than waiting for an odor.
- Use the correct detergent type and measure it for the load and product concentration.
- Stay below the compartment’s maximum mark.
- Wipe accidental spills before they dry into the runners.
- Check that inserts are seated after each cleaning.
- Allow ventilation only as the manual permits and where children and pets cannot access the appliance.
If odor comes from the drum as well as the drawer, use our broader guide to washing machine smells. If the appliance is clean but the load smells after drying, compare the handling and drying checks in why clothes smell sour after washing. These are separate investigations, not reasons to keep scrubbing the same drawer.
Frequently asked questions
Can I put the detergent drawer in the dishwasher?
Only if the appliance instructions explicitly allow it. Heat, dishwasher detergent and the shape of individual inserts make this an unsuitable default. Hand cleaning gives you control over the parts and keeps small inserts from disappearing.
Why is the fabric-softener compartment full of water?
Check the permitted cleaning procedure, correct seating of the siphon insert and maximum fill line first. A little residual water may be normal; repeated full compartments or overflow need model-specific troubleshooting.
Should I clean an automatic dispenser the same way?
No. A reservoir designed to hold many loads of detergent is not equivalent to a manual drawer. Use its emptying and cleaning instructions and keep electronics or non-submersible parts out of water.
Will cleaning the drawer fix every washer smell?
No. The gasket, drum, drainage system and damp laundry can each contribute. Cleaning the drawer is one targeted check. Persistent leaking, failure to dispense or a damaged component calls for a different next step.
Editorial note: This is a general maintenance guide, not a test of a specific washer. Follow the owner’s manual for removal, products and reassembly.