How to Clean Greasy Kitchen Cabinets: 7 Safe Steps
Learning how to clean greasy kitchen cabinets starts with restraint: use the mildest solution that works, keep moisture away from seams, and dry every section promptly. Kitchen grease is rarely just cooking oil. It combines with airborne dust, steam, and fingerprints to form a dull film that can cling to doors and handles. The seven-step method below removes that buildup without treating every cabinet finish as if it were the same.
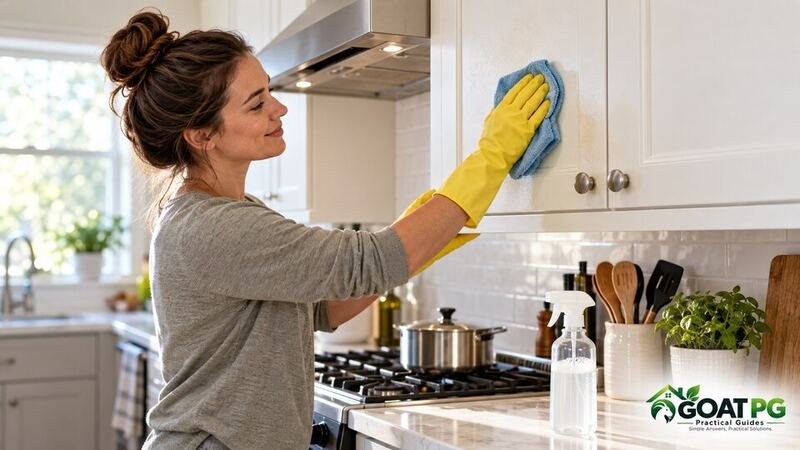
Table of Contents
Before You Start: Identify the Cabinet Finish
Before deciding how to clean greasy kitchen cabinets, identify the surface first. The safest cleaner depends on what covers the cabinet, not merely what the door looks like. Painted wood, stained and sealed wood, laminate, thermofoil, and unfinished wood can react differently to water, heat, abrasives, and solvents. If you have the care sheet from the cabinet manufacturer, follow it before any general advice.
Look at an inside edge or the back of a door. Laminate and thermofoil often show a thin edge or seam, while solid wood usually reveals grain around the edges. Painted MDF may look perfectly smooth. If the finish is peeling, cloudy, sticky, cracked, or worn through, pause before wet cleaning. Water can enter damaged areas and swell the substrate.
Also separate grease from finish failure. A greasy film often feels tacky and collects dust. A failing clear coat may stay sticky even after a gentle wash, or color may transfer to the cloth. That problem needs refinishing advice rather than stronger cleaner.
What You Need
- Two or three clean microfiber cloths
- A bowl of warm—not hot—water
- A few drops of mild hand dishwashing liquid
- A soft toothbrush or small soft-bristle brush for hardware details
- Dry cotton swabs for narrow corners, if needed
- Gloves if your skin is sensitive
- A manufacturer-approved cabinet cleaner for buildup that soap cannot remove
When learning how to clean greasy kitchen cabinets, avoid starting with a concentrated degreaser. “Heavy duty” does not automatically mean better for a finished cabinet. If you buy a cleaning product, read the surface directions and the safety label. The U.S. Environmental Protection Agency’s Safer Choice label can help shoppers identify products whose ingredients and performance have been reviewed against the program’s criteria.
How to Clean Greasy Kitchen Cabinets in 7 Steps
1. Turn off the cooking area and protect the counter
Let the stovetop and nearby surfaces cool completely. Move food, countertop appliances, and paper goods out of the work zone. Place an absorbent towel along the counter edge to catch an occasional drip. You want a controlled cleaning area, not extra moisture running into a cabinet box.
Open a window or run the range hood if you are using a commercial cleaner. Good ventilation is useful even when a product has little odor. Keep children and pets away from the bucket and supplies.
2. Remove loose dust and crumbs
Use a dry microfiber cloth to wipe the tops, face frames, doors, and lower trim. Work from the upper cabinets down. Removing dry soil first matters because dust mixed with water becomes muddy and can spread into corners.
Pay attention to the area above the range and refrigerator. Warm air carries tiny grease droplets upward, where they trap household dust. If dust quickly returns throughout the room, our guide to why a house gets so dusty can help you investigate filters, air leaks, and cleaning habits.
3. Mix a mild cleaning solution
Add a few drops of mild dish soap to a bowl of warm water and stir gently. The goal is lightly soapy water, not a bowl full of foam. Dish soap contains surfactants that help lift oily soil so it can be carried away on the cloth.
Do not add bleach, ammonia, vinegar, disinfectant, or another cleaner to the bowl. Poison Control advises never mixing cleaning chemicals because certain combinations can release dangerous gases. Bleach mixed with ammonia, for example, can produce irritating chloramine gas. Use one product at a time and follow its label.
4. Test a hidden area
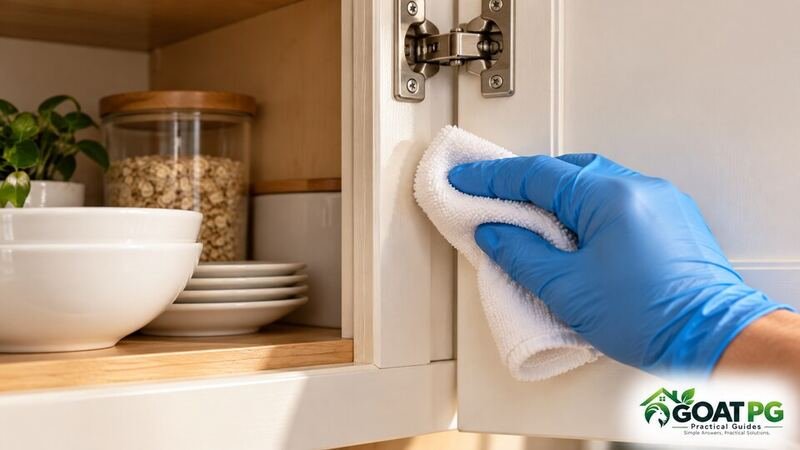
Dip a clean cloth into the solution, wring it until it is only damp, and wipe a small spot inside a cabinet door. Wait until the test area dries. Check for color transfer, dullness, whitening, swelling, or a change in sheen.
This spot test is an essential part of how to clean greasy kitchen cabinets because finishes can vary even within one home. Older doors may have been repainted, touched up, or exposed to years of heat near the stove. If the test changes the finish, stop and contact the manufacturer or a cabinet refinisher.
5. Wipe one small section at a time
Fold the damp microfiber cloth into quarters so you can rotate to a clean face. Wipe with light, even strokes, following the wood grain when visible. Start at the top of a door and move downward. Do not spray the cabinet directly; spray the cloth if the approved product’s directions allow it.
Give extra attention to knobs, pulls, the lower edge of upper cabinets, and the frame beside the cooktop. Grease is usually heaviest where hands touch and cooking vapor rises. For hardware details, use a soft toothbrush that is damp rather than dripping. Do not flood hinge cups, screw holes, seams, or unfinished edges.
When a spot resists the first pass, hold the damp cloth against it for only a few seconds, then wipe again. Repetition is safer than aggressive pressure. A fingernail, scouring pad, or razor can scratch the coating and create a permanent shiny or dull patch.
6. Remove the soap residue
Rinse a second microfiber cloth in clean water and wring it very well. Wipe the cleaned section to remove loosened grease and soap. Change the rinse water when it looks cloudy or feels slick. Otherwise, you may simply redeposit grease on the next door.
Look across the surface from the side. Streaks often mean that the cloth is overloaded or too much soap was used. A clean, barely damp pass usually removes them. For mineral spotting on nearby glass, use the surface-specific approach in our guide to removing hard-water stains from glass; do not assume an acidic glass method is suitable for a cabinet finish.
7. Dry immediately and inspect
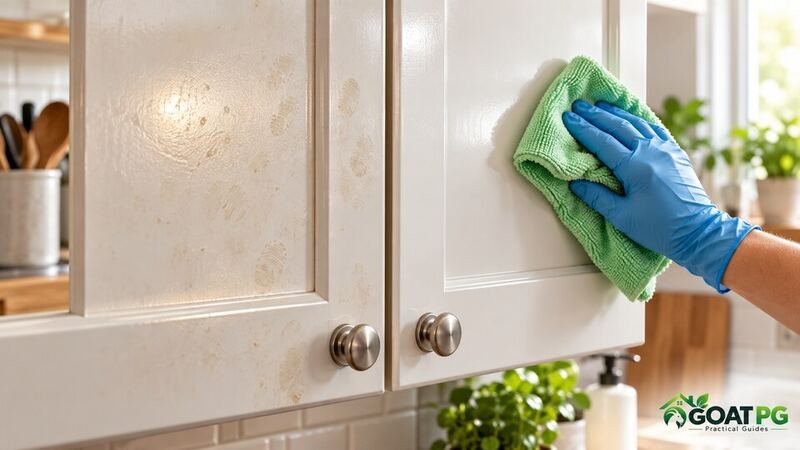
Buff the area with a dry microfiber cloth before moving to the next section. Drying helps prevent streaks and limits the time moisture sits around joints and edges. Leave cabinet doors open for a short time if you cleaned the inside lip, but do not aim a hot hair dryer at the finish.
Inspect the surface under normal room light after it is fully dry. If a light greasy film remains, repeat the same gentle process once. If several attempts make no difference, switch only to a cabinet cleaner approved for that exact finish. This patient approach is the safest answer to how to clean greasy kitchen cabinets without trading dirt for surface damage.
Adjust the Method for Different Cabinet Finishes
Painted wood or painted MDF
Use very little water and minimal pressure. Flat and matte paints can burnish, leaving shiny patches, while old paint may soften or transfer. Avoid melamine foam unless the paint manufacturer specifically approves it; the foam acts as a fine abrasive.
Stained and sealed wood
Wipe with the grain, keep the cloth well wrung, and dry promptly. Do not apply cooking oil or an improvised oil-and-vinegar mixture. Oil can leave a film that catches more dust, and acidic ingredients may not be compatible with every clear coat.
Laminate
Laminate faces usually tolerate gentle wiping well, but seams remain vulnerable. Keep water away from exposed particleboard edges. Never use a metal scraper or abrasive powder on a glossy laminate surface.
Thermofoil
Use mild soap, limited water, and no steam. Heat can contribute to lifting or peeling, particularly around ovens and dishwashers. If the vinyl layer is already loose, cleaning will not reattach it.
Unfinished or damaged wood
Do not use this wet-cleaning method on raw wood or a finish that has worn through. Grease may have penetrated the fibers, and water can raise the grain or create stains. Ask a refinisher about cleaning, sanding, and resealing options.
Mistakes That Can Damage Cabinets
- Spraying doors directly: liquid can run into seams, hinges, and unfinished edges.
- Using too much soap: excess detergent leaves a hazy, dirt-attracting film.
- Scrubbing with abrasive pads: they can permanently change the sheen.
- Using steam: heat and moisture may soften adhesive or lift thermofoil.
- Applying undiluted vinegar everywhere: an acidic product may dull or damage some finishes.
- Mixing cleaners: combinations can create toxic gas or unpredictable reactions.
- Ignoring the manufacturer: a warranty or care sheet is more specific than general internet advice.
The Kitchen Cabinet Manufacturers Association’s performance standard includes testing finished cabinet surfaces against household substances and a dilute dish-detergent solution, followed by clear water and drying. That does not make every cabinet impervious to water; it reinforces why a mild solution, controlled exposure, rinsing, and drying are sensible fundamentals.
How to Keep Grease From Returning
Prevention is part of how to clean greasy kitchen cabinets with less effort. Run the range hood whenever you fry, sauté, or simmer something that produces visible steam. Start it a few minutes before cooking and leave it on briefly afterward. Clean or replace the hood filter according to the appliance manual; a loaded filter captures less airborne grease.
Wipe fresh splatters once the cooking area is cool. A thirty-second cleanup is easier on the finish than attacking a months-old film. Once a week, dry-dust the cabinet tops and wipe handles with a compatible damp cloth. Wash hands before opening cabinets while cooking, or use pulls rather than grabbing door edges.
Grease and food residue can also support kitchen pests. If small flies appear around produce or waste, use our steps for getting rid of fruit flies in the kitchen. If odors persist even after the cabinets are clean, check nearby appliances with our guide to finding the source of refrigerator odors.
When to Call a Professional
Knowing how to clean greasy kitchen cabinets also means knowing when to stop. Contact the cabinet manufacturer or a refinishing professional when the surface is peeling, bubbling, chalking, or sticky after gentle cleaning. Also get help if wood is swollen, darkened around seams, or giving off a persistent musty odor. Those signs may point to moisture damage rather than ordinary grease.
A professional can identify the finish, test a suitable solvent in a controlled way, and determine whether cleaning, touch-up, or full refinishing is appropriate. Stronger chemistry is not a shortcut when the coating itself is failing.
Frequently Asked Questions
What is the best homemade solution for greasy cabinets?
For many intact, washable finishes, the safest starting point for how to clean greasy kitchen cabinets is warm water with a few drops of mild dish soap. The best solution is still the one approved by the cabinet manufacturer. Always test in a hidden area and use as little moisture as possible.
Can I use vinegar to clean greasy kitchen cabinets?
Not automatically. Vinegar is acidic and may dull or damage some coatings, stone, or nearby hardware. Check the care instructions for your cabinet finish. Mild dish soap is usually a more conservative first attempt.
Can I use baking soda on cabinet grease?
Baking soda can act as a mild abrasive, so it may alter glossy paint or clear finishes. Avoid scrubbing cabinet faces with a baking-soda paste unless the manufacturer specifically recommends it.
How often should kitchen cabinets be degreased?
Wipe splatters promptly and clean high-touch areas weekly or as needed. A more complete gentle cleaning every few months may be enough for many kitchens. Frequent frying, limited ventilation, or a gas range can make buildup appear sooner.
Why do my cabinets still feel sticky after cleaning?
The cloth may be spreading grease, too much detergent may remain, or the finish itself may be deteriorating. Rinse with a fresh barely damp cloth and dry. If the tackiness remains or color transfers, stop and seek finish-specific advice.
Is a magic eraser safe on painted cabinets?
It can change the sheen because melamine foam is mildly abrasive. On painted or glossy doors, that may leave a visible dull patch. Use a soft microfiber cloth and a tested mild solution instead.
Final Takeaway
The key to how to clean greasy kitchen cabinets is controlled cleaning: identify the finish, remove dry dust, test a mild solution, work in small sections, rinse lightly, and dry immediately. Tough buildup may need a finish-approved product, but more liquid and more force are rarely the safest answer. Once the doors are clean, regular hood use and quick splatter removal will make the next cleanup much easier.