Learn how to fix NTOSKRNL.EXE BSOD error on Windows 11 with this step-by-step guide addressing common issues and solutions.
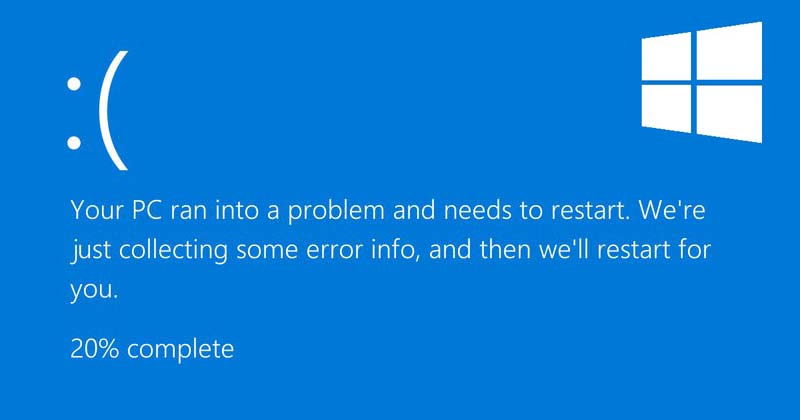
Experiencing the NTOSKRNL.EXE BSOD error on your Windows 11 device can be frustrating, often resulting in unexpected system shutdowns and prolonged recovery times. Fortunately, this issue is usually fixable through a series of troubleshooting steps. This guide will walk you through the essential actions required to resolve the NTOSKRNL.EXE BSOD error, restoring your system’s stability.
How to Fix NTOSKRNL.EXE BSOD Error
Requirements or Prerequisites
Before diving into the troubleshooting steps, ensure you have the following:
- A functional Windows 11 PC
- Administrative access to the system
- Backup of your important files (in case further issues arise)
How to Fix NTOSKRNL.EXE BSOD Error
To effectively resolve the NTOSKRNL.EXE BSOD error, follow the structured steps below. Each step addresses potential causes and solutions.
Step 1: Check Your PC’s RAM for Errors
The first step in troubleshooting is examining your system’s RAM for issues.
- Open the Windows Memory Diagnostic app by searching for it in the Windows search bar.
- Select Restart now and check for problems. This will reboot your computer and initiate the diagnostic process.
- Allow the diagnostic tool to check your RAM. If it detects errors, consider cleaning and swapping the RAM sticks.
Step 2: Run SFC & DISM Commands
If a corrupted system file is the culprit, you need to run the SFC (System File Checker) and DISM (Deployment Imaging Service and Management Tool) commands.
Launch PowerShell as an administrator by searching for it and right-clicking to select this option.
Enter the following DISM command and hit Enter: DISM /Online /Cleanup-Image /RestoreHealth
Once the DISM process is complete, run the SFC command by typing: sfc /scannow
Step 3: Run the Chkdsk Utility
Hard drive issues can also trigger the NTOSKRNL.EXE BSOD error.
Open PowerShell as an administrator again.
Execute the command: chkdsk /r /f
Confirm when prompted to schedule the scan for the next restart by typing Y and pressing Enter. Restart your computer to let Chkdsk run.
Step 4: Disable Overclocking
If you’ve been overclocking your hardware, this can lead to instability. To resolve this:
- Return your components to their default settings, especially if you are inexperienced with overclocking.
Step 5: Uninstall Antivirus Programs
Third-party antivirus software can interfere with the system processes, resulting in errors.
- If you recently installed or updated your antivirus, uninstall it temporarily and rely on Windows Defender for protection.
Step 6: Update Your Drivers
Outdated or corrupted drivers can also be a cause.
- Visit Device Manager, and check for any outdated drivers. Update any that are marked to ensure optimal performance.
Step 7: Check for Malware Infection
Malware can disrupt system operations, leading to the BSOD error.
- Open the Windows Security app.
- Navigate to Virus & threat protection.
- Click on Scan options, select Full Scan, and then click Scan Now to identify and remove any malware.
Step 8: Perform a System Restore
If you have a system restore point, you can revert your settings to a previous state.
- Open the Recovery app.
- Click on Open System Restore, then select Choose a different restore point.
- Select a restore point and follow the prompts to complete the process.
Step 9: Update Windows 11
If the issue persists, ensure that your Windows 11 operating system is up to date:
- Go to Settings > Windows Update and click Check for updates. Install any pending updates to fix bugs that may be affecting system performance.
Common Problems and Fixes
- Persistent BSOD Errors: If you’re still experiencing BSOD errors after these steps, it may be wise to consider hardware issues like defective RAM or hard drives that require professional diagnostics.
- Lost Data During Troubleshooting: Remember to always back up important files before proceeding with any system-related troubleshooting to avoid data loss.
Tips, Best Practices, and Warnings
- Regularly check for Windows updates.
- Update your drivers periodically to prevent compatibility issues.
- Always monitor system performance for unusual spikes, which may hint at underlying problems.
Read also : How to Fix ‘D3D11 Compatible GPU Is Required’ Error
Knowing how to fix the NTOSKRNL.EXE BSOD error effectively can safeguard your Windows 11 experience from unwarranted interruptions. By following these systematic troubleshooting steps, you can restore your system’s reliability and continue utilizing its features efficiently. If problems persist or if you’re uncomfortable performing these steps, consider consulting a professional service.