Learn how to fix hypervisor error in Windows 11 with this step-by-step guide that covers common issues and effective solutions.
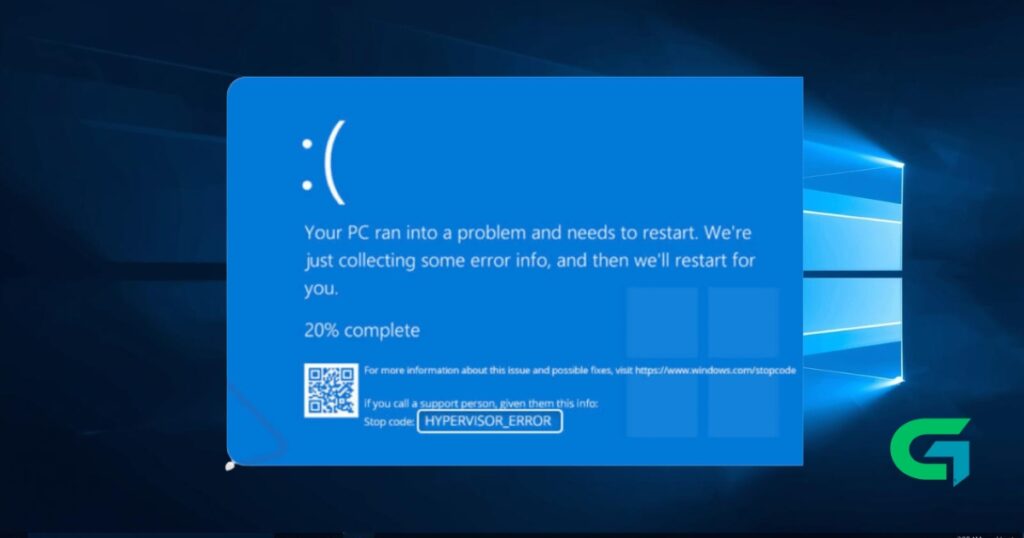
Experiencing a hypervisor error in Windows 11 can be frustrating and disruptive. This issue often halts your virtualization efforts, preventing seamless operation of Virtual Machines (VMs). Fortunately, there are effective solutions to tackle this problem. Here, we will explore multiple methods that will guide you on how to fix hypervisor error in Windows 11.
How to Fix Hypervisor Error in Windows 11
Understanding the root cause of your hypervisor error is essential. This error may arise from software conflicts, misconfigured settings, or system issues that need addressing. Below, we outline the steps to resolve these issues effectively.
Requirements
Before getting started, ensure you have:
- An active internet connection
- Administrative access on your Windows 11 PC
- Basic knowledge of navigating Windows settings
How to Fix Hypervisor Error in Windows 11
Here’s a detailed breakdown of steps you can follow to troubleshoot and fix the hypervisor error:
1. Restart Your PC
Sometimes, a simple restart can resolve numerous issues. Restart your PC to refresh system processes and see if the error persists.
2. Turn Off the Hypervisor
Launch the Command Prompt as administrator.
Type the following command and press Enter:
bcdedit /set hypervisorlaunchtype offRestart your computer.
3. Restart the Hyper-V Services on Windows 11
- Go to the Start menu and type “Services.”
- Locate Hyper-V Virtual Machine Management.
- Right-click on it and select Restart.
4. Rule Out Memory Issues
Memory issues can lead to hypervisor errors. Use the Windows Memory Diagnostic tool to check for any faults.
- Press Win + R, type
mdsched.exe, and hit Enter. - Follow the prompts to restart and check for memory issues.
5. Check Your Drive for File System Errors
- Open File Explorer.
- Right-click on the Windows installation drive (usually C:) and select Properties.
- Navigate to the Tools tab and click on Check under Error Checking.
- Select Scan Drive to diagnose any file system errors.
6. Run the DISM Tool
If your system files are corrupted, running the DISM tool can help restore them.
Open Command Prompt as administrator.
Enter the command:
DISM.exe /Online /Cleanup-image /RestorehealthWait for the process to complete and restart your PC.
7. Update Your Windows 11
Ensure your system is up to date. Microsoft frequently releases updates that address system bugs.
- Go to Settings > Windows Update.
- Check for updates and install any available updates.
8. Reset Windows 11
If all else fails, resetting your system can often resolve persistent issues.
- Go to Settings > System > Recovery.
- Click on Reset this PC and follow the prompts.
How to Fix Hypervisor Error in Windows 11: Common Problems and Fixes
While following the above methods can help in most cases, you might still encounter issues. Here are some common problems and how to fix them:
- Error Message While Running Commands: Ensure you’re running commands with administrative privileges.
- Services Won’t Restart: If Hyper-V services do not restart, recheck your system settings and try again.
- Persistent Hypervisor Errors: Ensure your BIOS settings allow virtualization features. You may need to enable Intel VT or AMD-V.
Tips, Best Practices, and Warnings
- Always back up important data before making changes to system settings.
- Keep your drivers and Windows OS updated to prevent compatibility issues.
- Beware of third-party software that may interfere with virtualization features.
Read also : How to Fix Copy and Paste Not Working in Windows 11
In this guide, we reviewed essential steps on how to fix hypervisor error in Windows 11 effectively. By following these recommendations, you can troubleshoot and resolve issues with virtualization, ensuring smooth and efficient operation of your Virtual Machines. If problems persist, consider reaching out to professional support for further assistance.